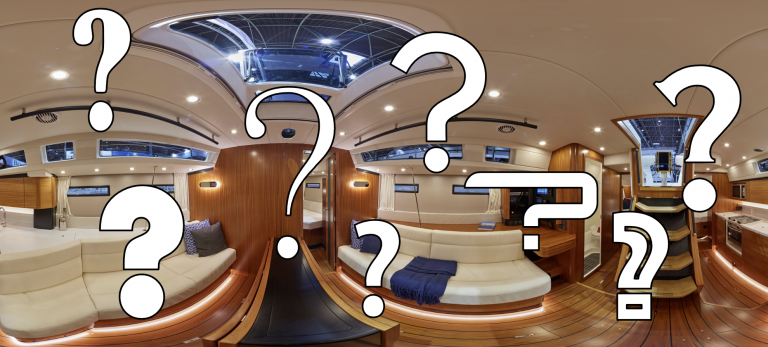
As a photographer, feel it’s important to highlight a few things to look for when choosing a 360° photographer, any 360° photographer, not just whether you choose me or not.
I’d rather you make an educated decision and choose a photographer that’s right for you, rather than get a cheap product which will do your company few favours or worse still, pay for what you’re sold ‘is a quality product’ and end up with a poor tour.
I believe that helping you, or anyone, to know what to look for in a tour puts you in a better position to make the right choice. You’ll hopefully be able to ask the right questions and see from a photographer’s work whether you are getting what you want; not all tours are the same. As with so much in life, you get what you pay for. My work is used to sell multi-million pound yachts, and I sell on the quality of the tours I produce.
Insurance
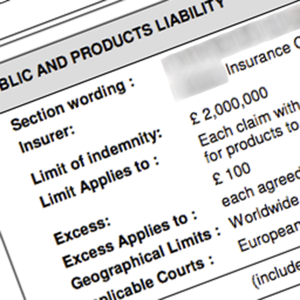
Firstly, insurance has nothing to do with the images, but find out if the photographer insured – if their camera falls on a display, cabinet or car, or if an employee trips over the photographer’s bag, etc. who will pay for the damage? I have full Public Liability (£2m) and professional indemnity insurance (£1,000,000), so should I inadvertently cause any damage or anything fails with my cameras, cards or images, the costs are covered. Hiring a photographer without insurance could be a costly mistake. Any photographer working professionally should be able to provide you with proof of insurance.
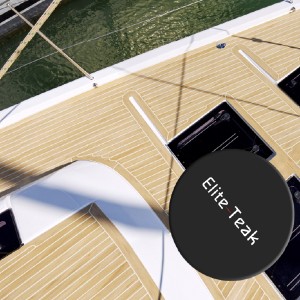
Nadir. Nad what?
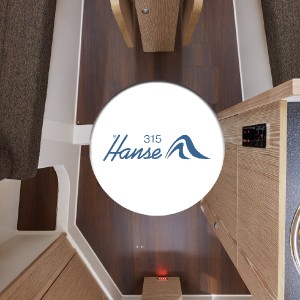
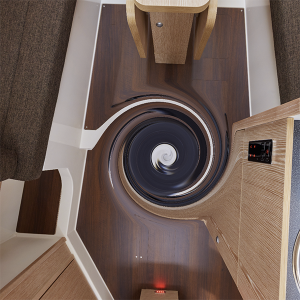
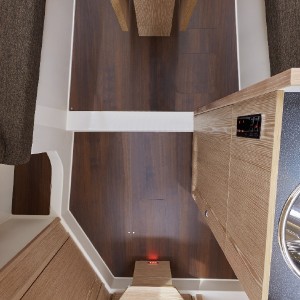
Look down in the tour, at the bottom of the image. I always put the customer’s logo on the bottom – at the nadir of the image – (except for my portfolio work where I use mine), to reinforce brand identity, it takes more work and time, but I believe it’s worth the effort – after all, the purpose of a tour is to promote your business to help you sell more. While the absence of a nadir cap can look more realistic, the purpose of a tour is to sell – either more products or your brand. Take these examples, which one does that job best?
Stitching and the use of Photoshop
All tours will have to be stitched, or joined together– even one-shot solutions join a number of images together. A 360° image is made from a number of images taken from different angles and joined together to make one 360° image which is then displayed either on a VR headset or on a laptop or smart device. Where the images are joined can occasionally be a bit hit-and-miss. When it misses it’s up to the photographer to notice and correct the errors.
Look around in the images, are there stitching errors? This is usually a good indicator of the care the photographer takes and the quality of their work.
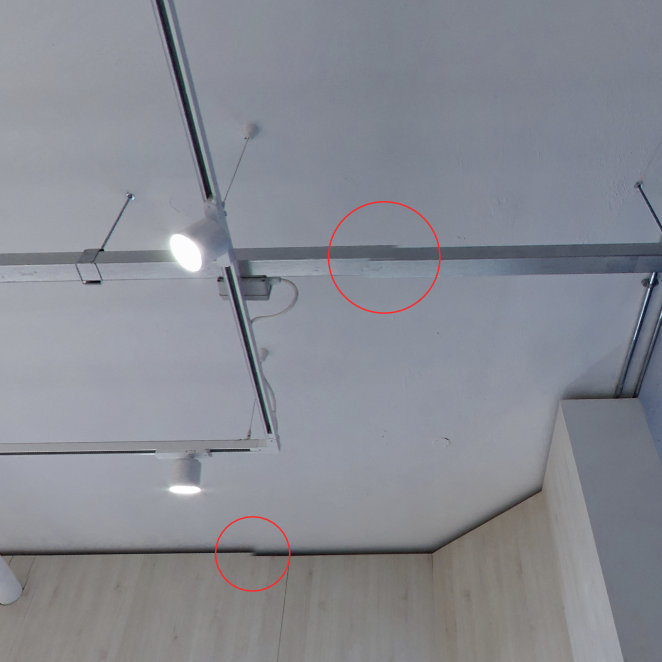
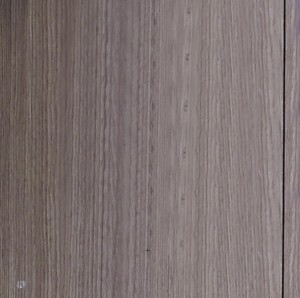
All the 360° images will have had some image manipulation, whether you want a nadir cap or not, look for the signs of bad or rushed cloning, where the same pattern is repeated where it has no reason to be. Photoshop has received a bit of bad press from photographers making up impossible scenes or creating impossible women, but used correctly it can be a powerful tool. I’ve removed items from tables, created backgrounds and removed many distracting items from my 360° imagery at my client’s request – if you can see where something was, the photographer or the retoucher has failed.
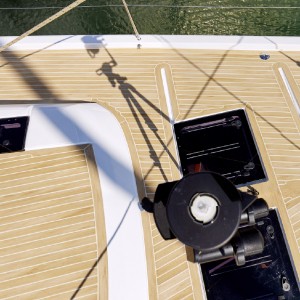
If the tour was taken outside, do you really want the shadow of the tripod visible, or wouldn’t the scene look better without it? Yes, again it takes longer and is done with Photoshop, but distractions dilute the impact of the tour and the fewer there are, the less chance you have of your message getting lost.
How personal is your personal tour?
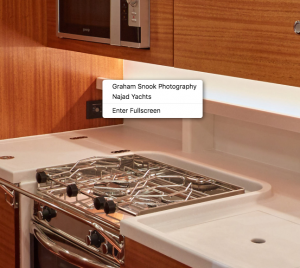
Right-click (or ctrl-click on a mac) on the tour. Here you’ll find a credit to the photographer – and if it’s one of my tours to the owner’s website. Why is this important? Well, while a tour can be hosted and embedded anywhere, this menu information can’t be changed without the photographer either coding it or paying extra for the tour software to remove its credit. Would you like every document you create in Word to have a credit to Microsoft word embedded on it? I wouldn’t, and I feel it’s far more professional to include my credit and a credit to my client.
The devil is in the detail
Zoom in on the image. This will show you (and your customers) different amounts of detail, how clear is the detail within the image.
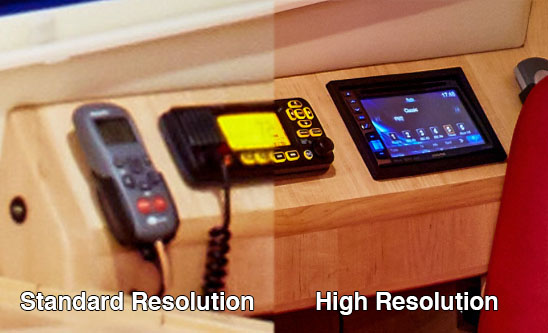
There are many different ways of capturing 360° images, from a £300 one-shot solution – which I don’t use, to a DSLR system costing in excess of £6,000, which I do. Again you get what you pay for, a Theta camera is quick and easy to use, and it is accepted by Google on its Street View Tours, but for the highest detail, a DSLR is still king of the castle and provides the best images 360° quality.
I can capture high-resolution 190 megapixels (mpx) images (from 20 or so different angles and three different exposures) seen on the right, but this level of detail is not always required, so I also offer standard-resolution 33mpx too (4 different angles and three different exposures). I personally won’t go lower than that, although some photographers may go to as low as 12mpx. There is a vast difference in how the images from my two systems look, this can be seen in one tour here:
Finally, look at the overall image, can you see disjointed lines, walls and ceiling lines jumping, or a colour shift from where one image has a blue cast and the other has, for example, a red cast.
Much of this comes down to attention to detail and the equipment used. Stitching software is generally excellent, however, it’s not infallible and where it gets it wrong is where the photographer has to correct images manually. Yes, it takes more time, but I take pride in the work that I do, and I do it all myself.
There are many other details that I pay attention to, in the capture of the image than help me reproduce a scene, whether it’s the inside of a shop or a yacht. I use techniques I’ve picked up pioneering the use of 360° photography for the magazines I worked on, and for the last 10 years I’ve been capturing 360° work.
Hopefully, this post has been educational and you’ll be able to differentiate between the work of a good photographer and a cheap photographer. You’ll always be able to find someone to make a cheap tour, and as long as you know why tours are cheap and how money has been saved then you’re in a stronger position when it comes to hiring someone to shoot your next tour.
